Flowers are a beautiful way to decorate your home, celebrate special occasions, or express your feelings. But what if you want to keep your flowers for longer than a few days? Drying flowers is a simple and creative way to preserve your blooms and enjoy them for years to come. In this blog post, I will show you five methods for drying flowers and some tips and ideas for using them.
Why Dry Flowers?
Drying flowers has many benefits, such as:
- Extending the life of your flowers and reducing waste
- Creating unique and lasting decorations for your home or events
- Making sentimental keepsakes from weddings, anniversaries, birthdays, or funerals
- Saving money on buying fresh flowers
- Having fun and unleashing your creativity
What Flowers Can You Dry?
Not all flowers are suitable for drying, as some may lose their shape, color, or fragrance during the process. Generally, you want to choose flowers that are:
- Sturdy and not too delicate
- Small to medium-sized and not too bulky
- Low in moisture content and not too juicy
- Brightly colored and not too pale
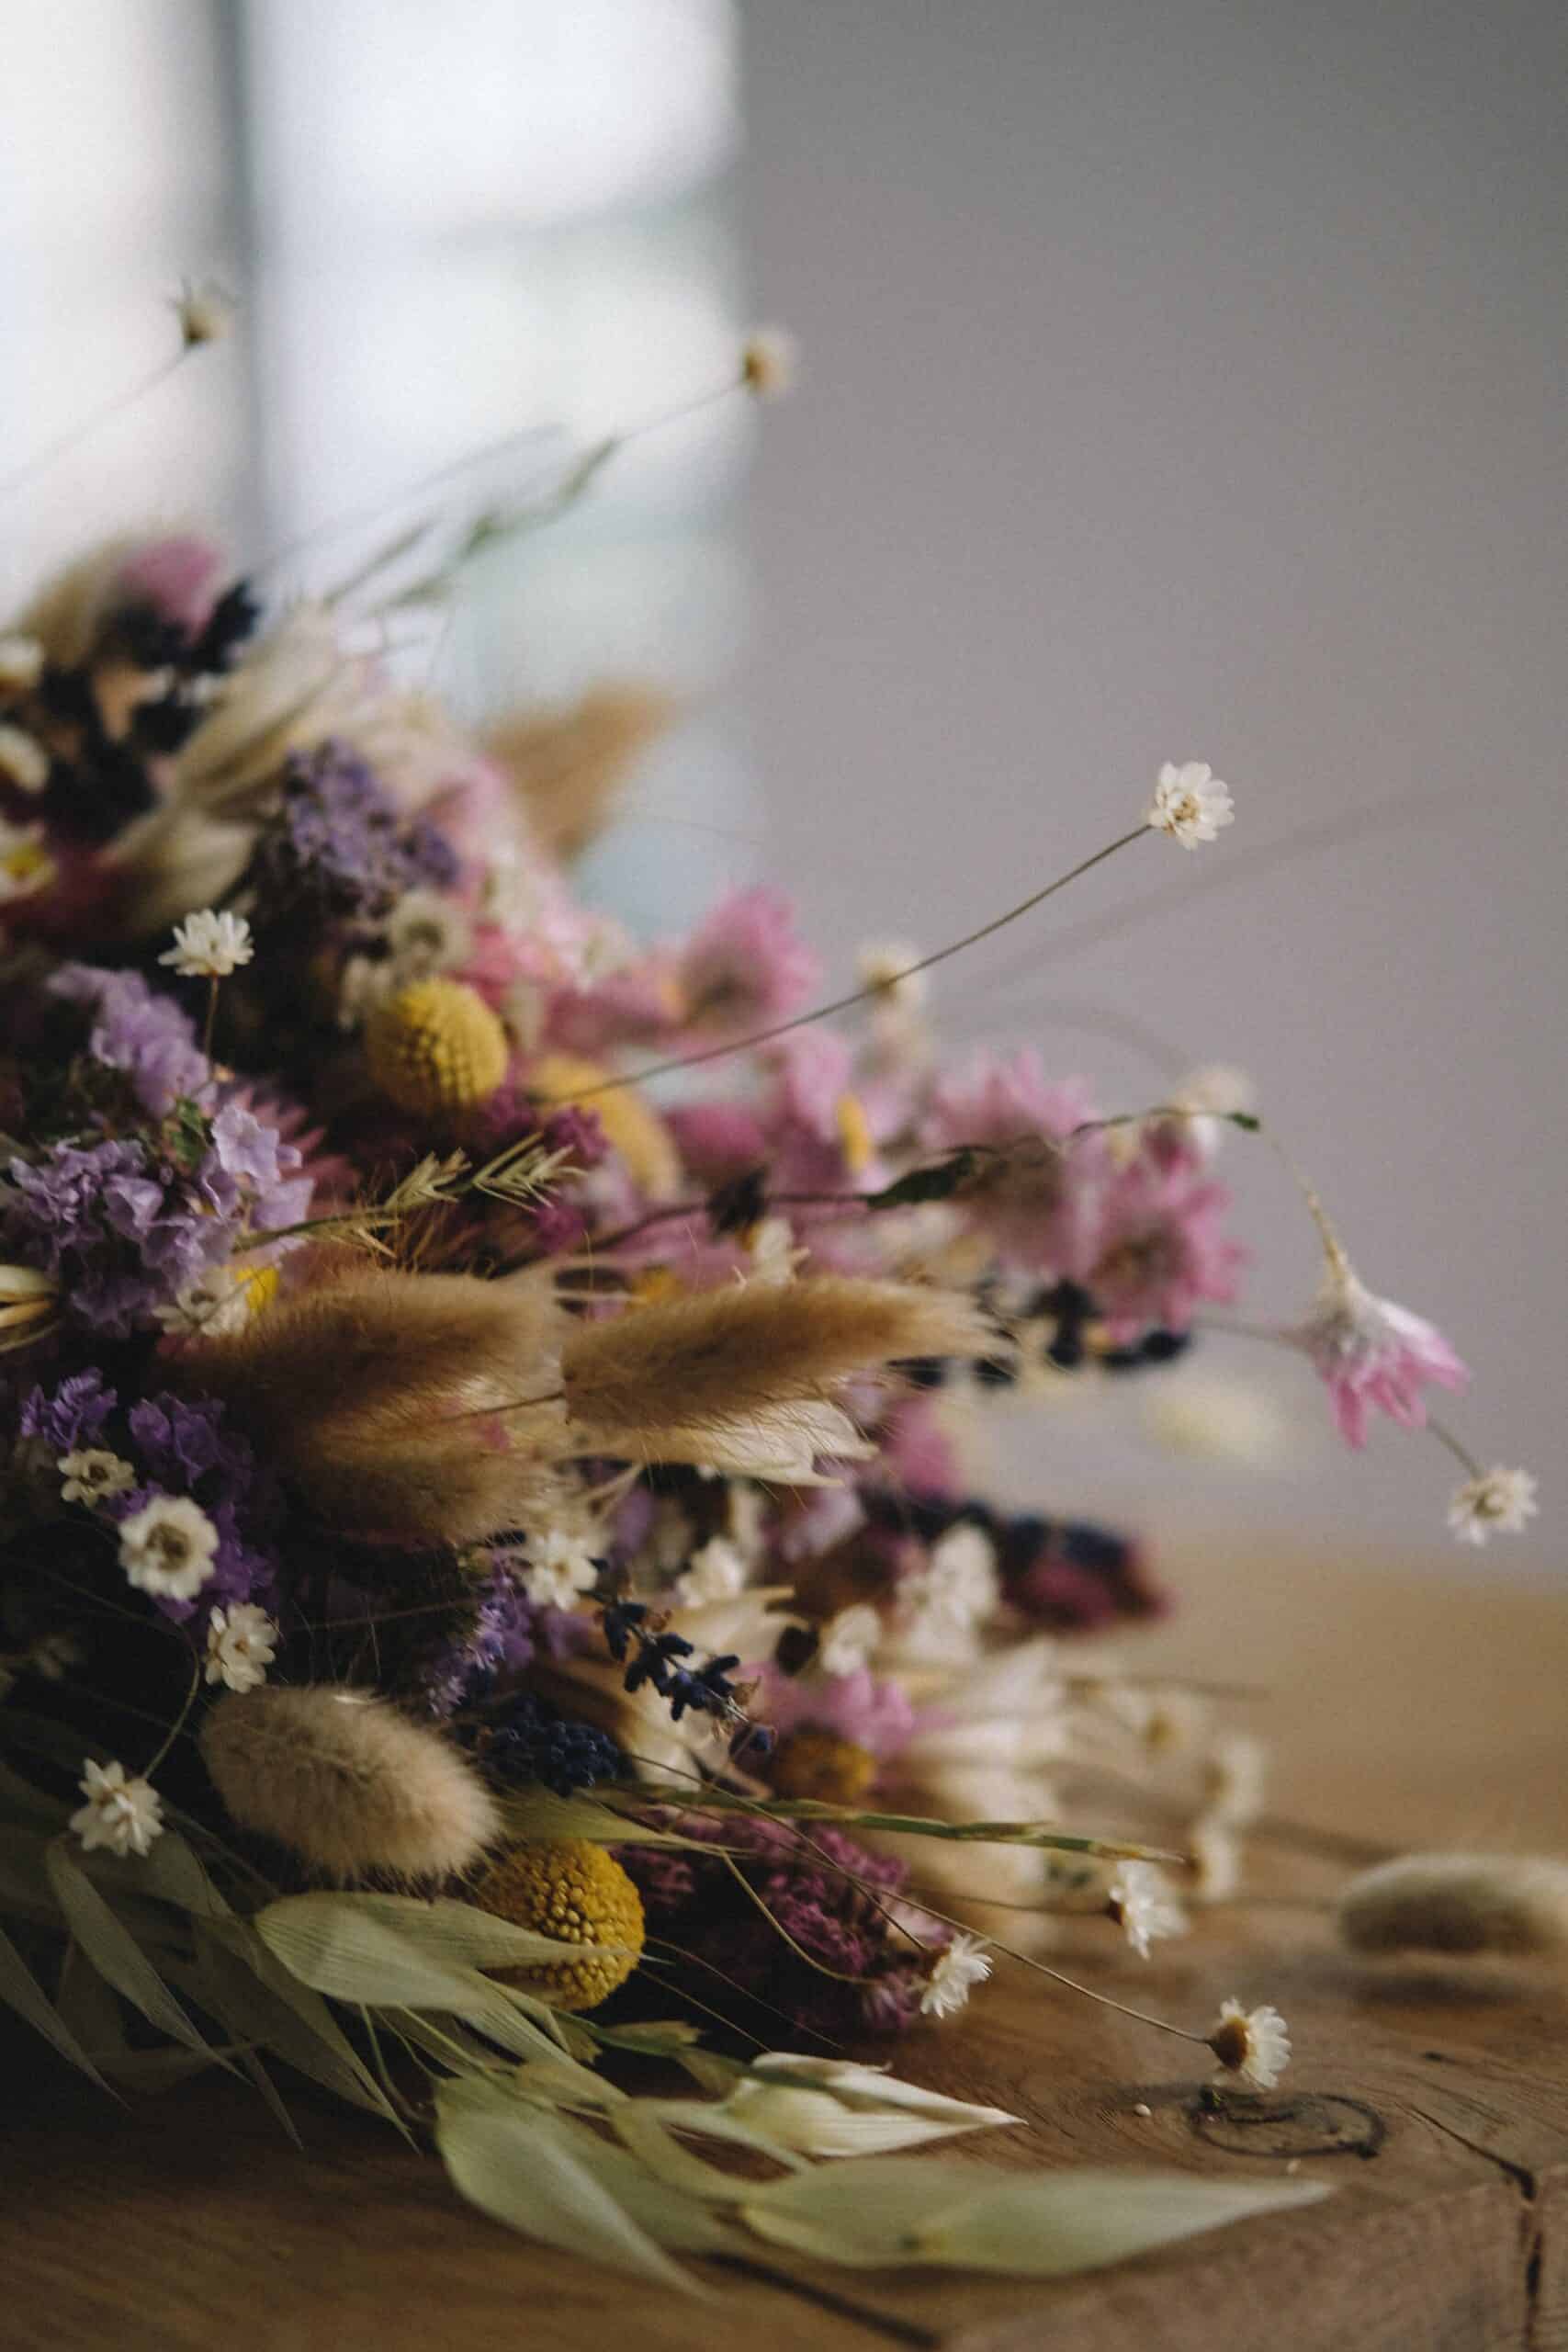
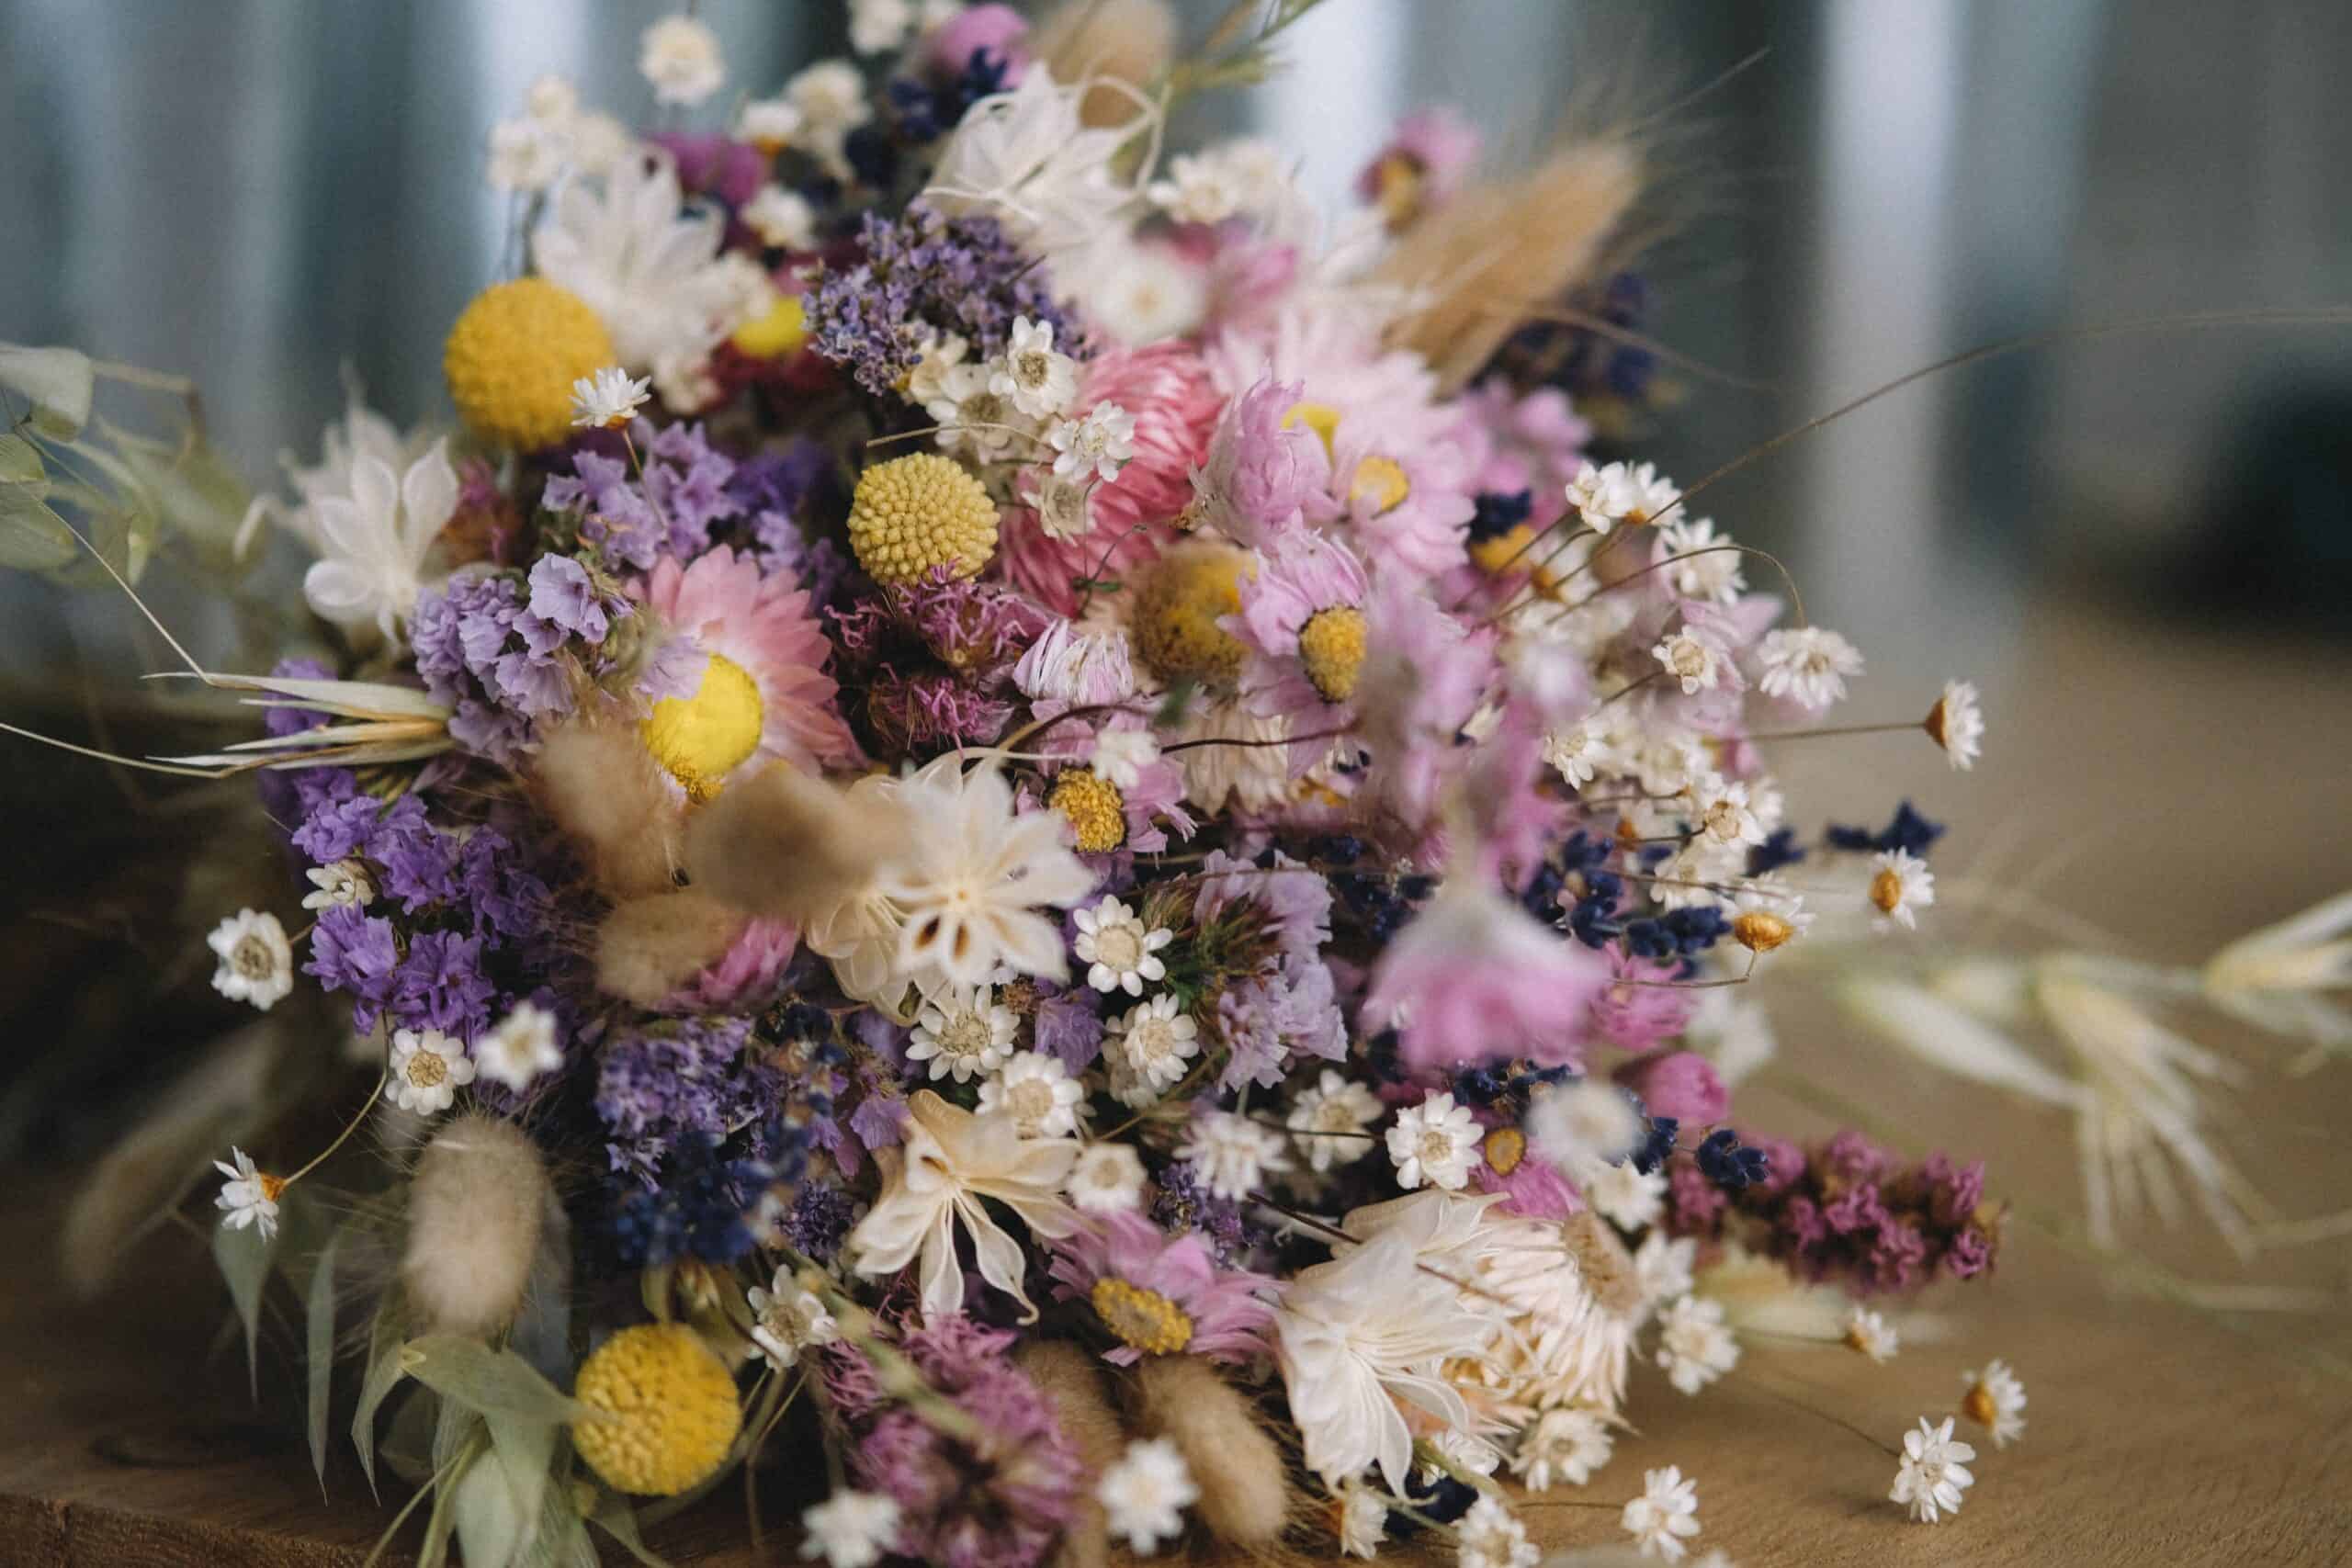
Some examples of flowers that dry well are:
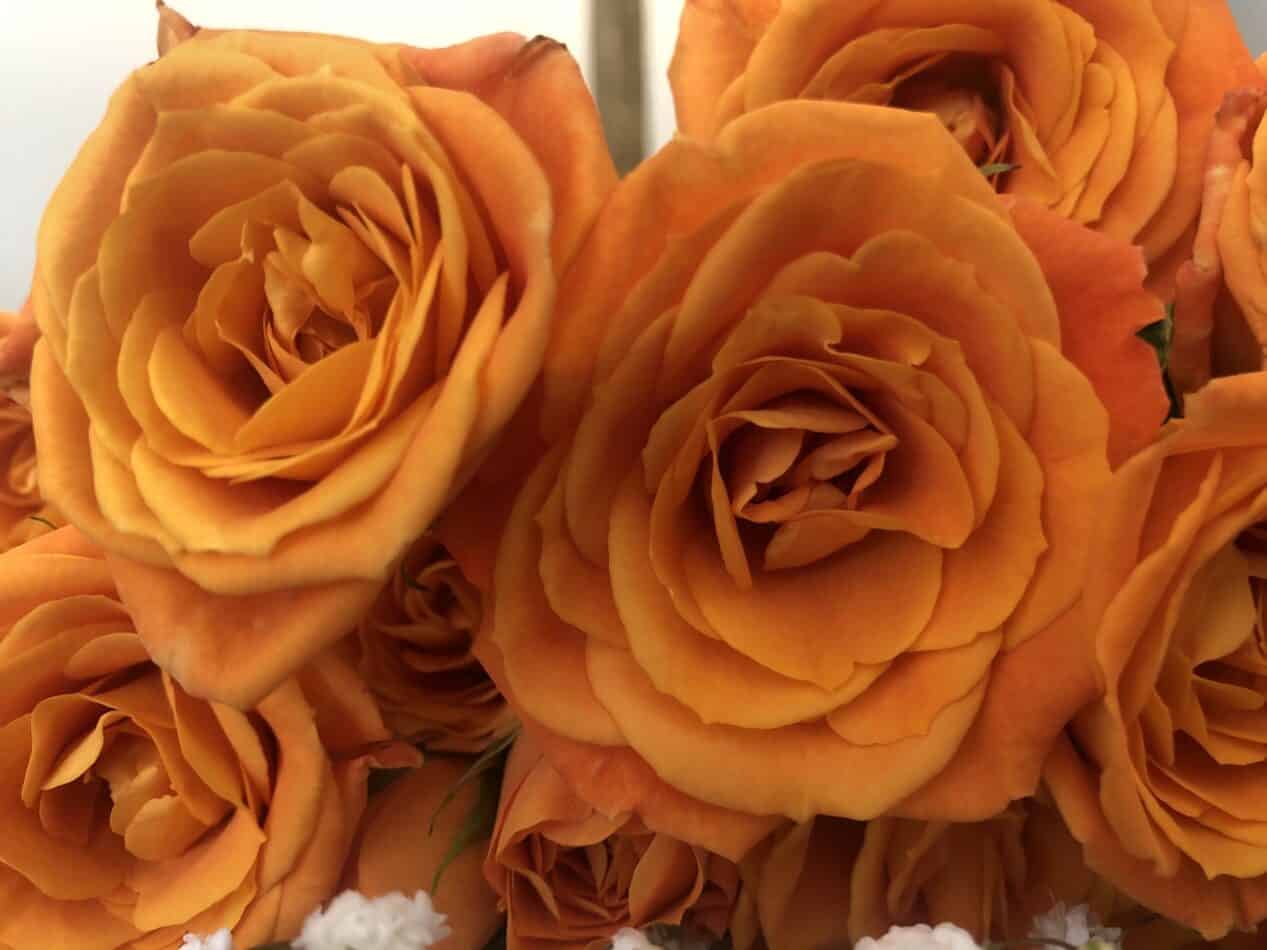
- Roses
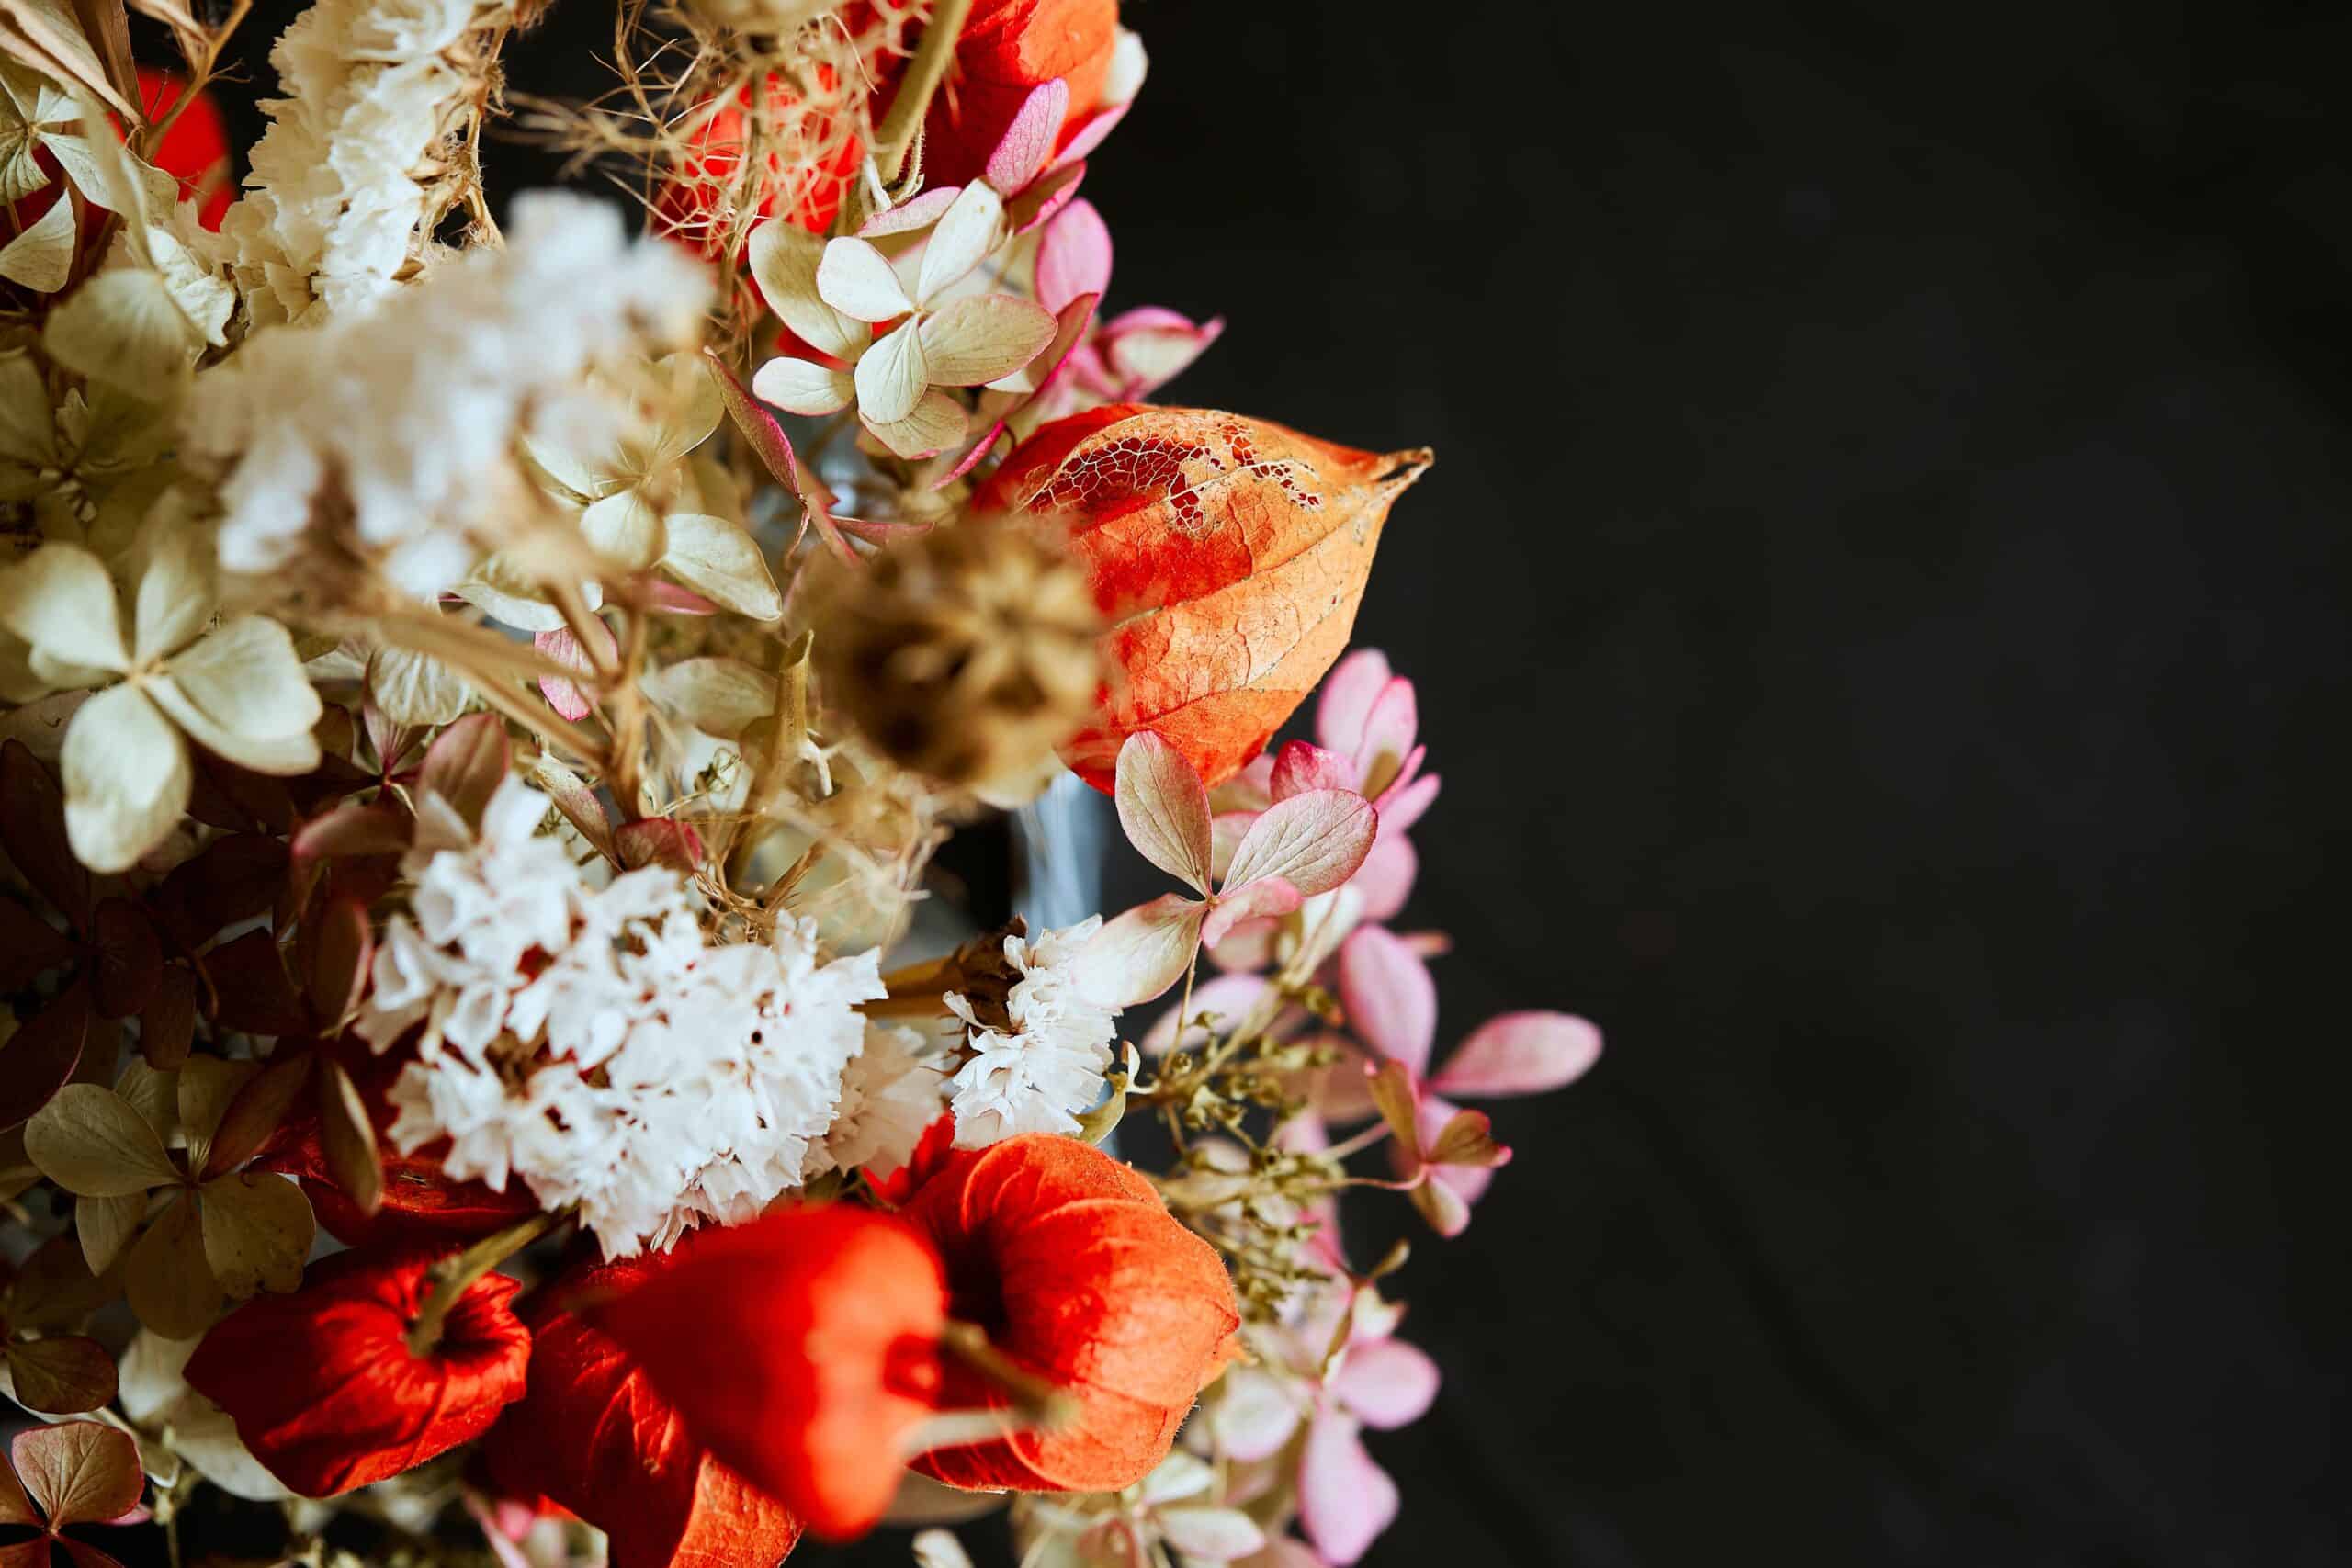
- Hydrangeas
- Peonies
- Lavender
- Baby’s breath
- Statice
- Solidago
- Brunia
How to Dry Flowers?
There are many different ways to dry flowers, depending on the type of flower, the amount of time you have, and the result you want. Here are five common methods for drying flowers:
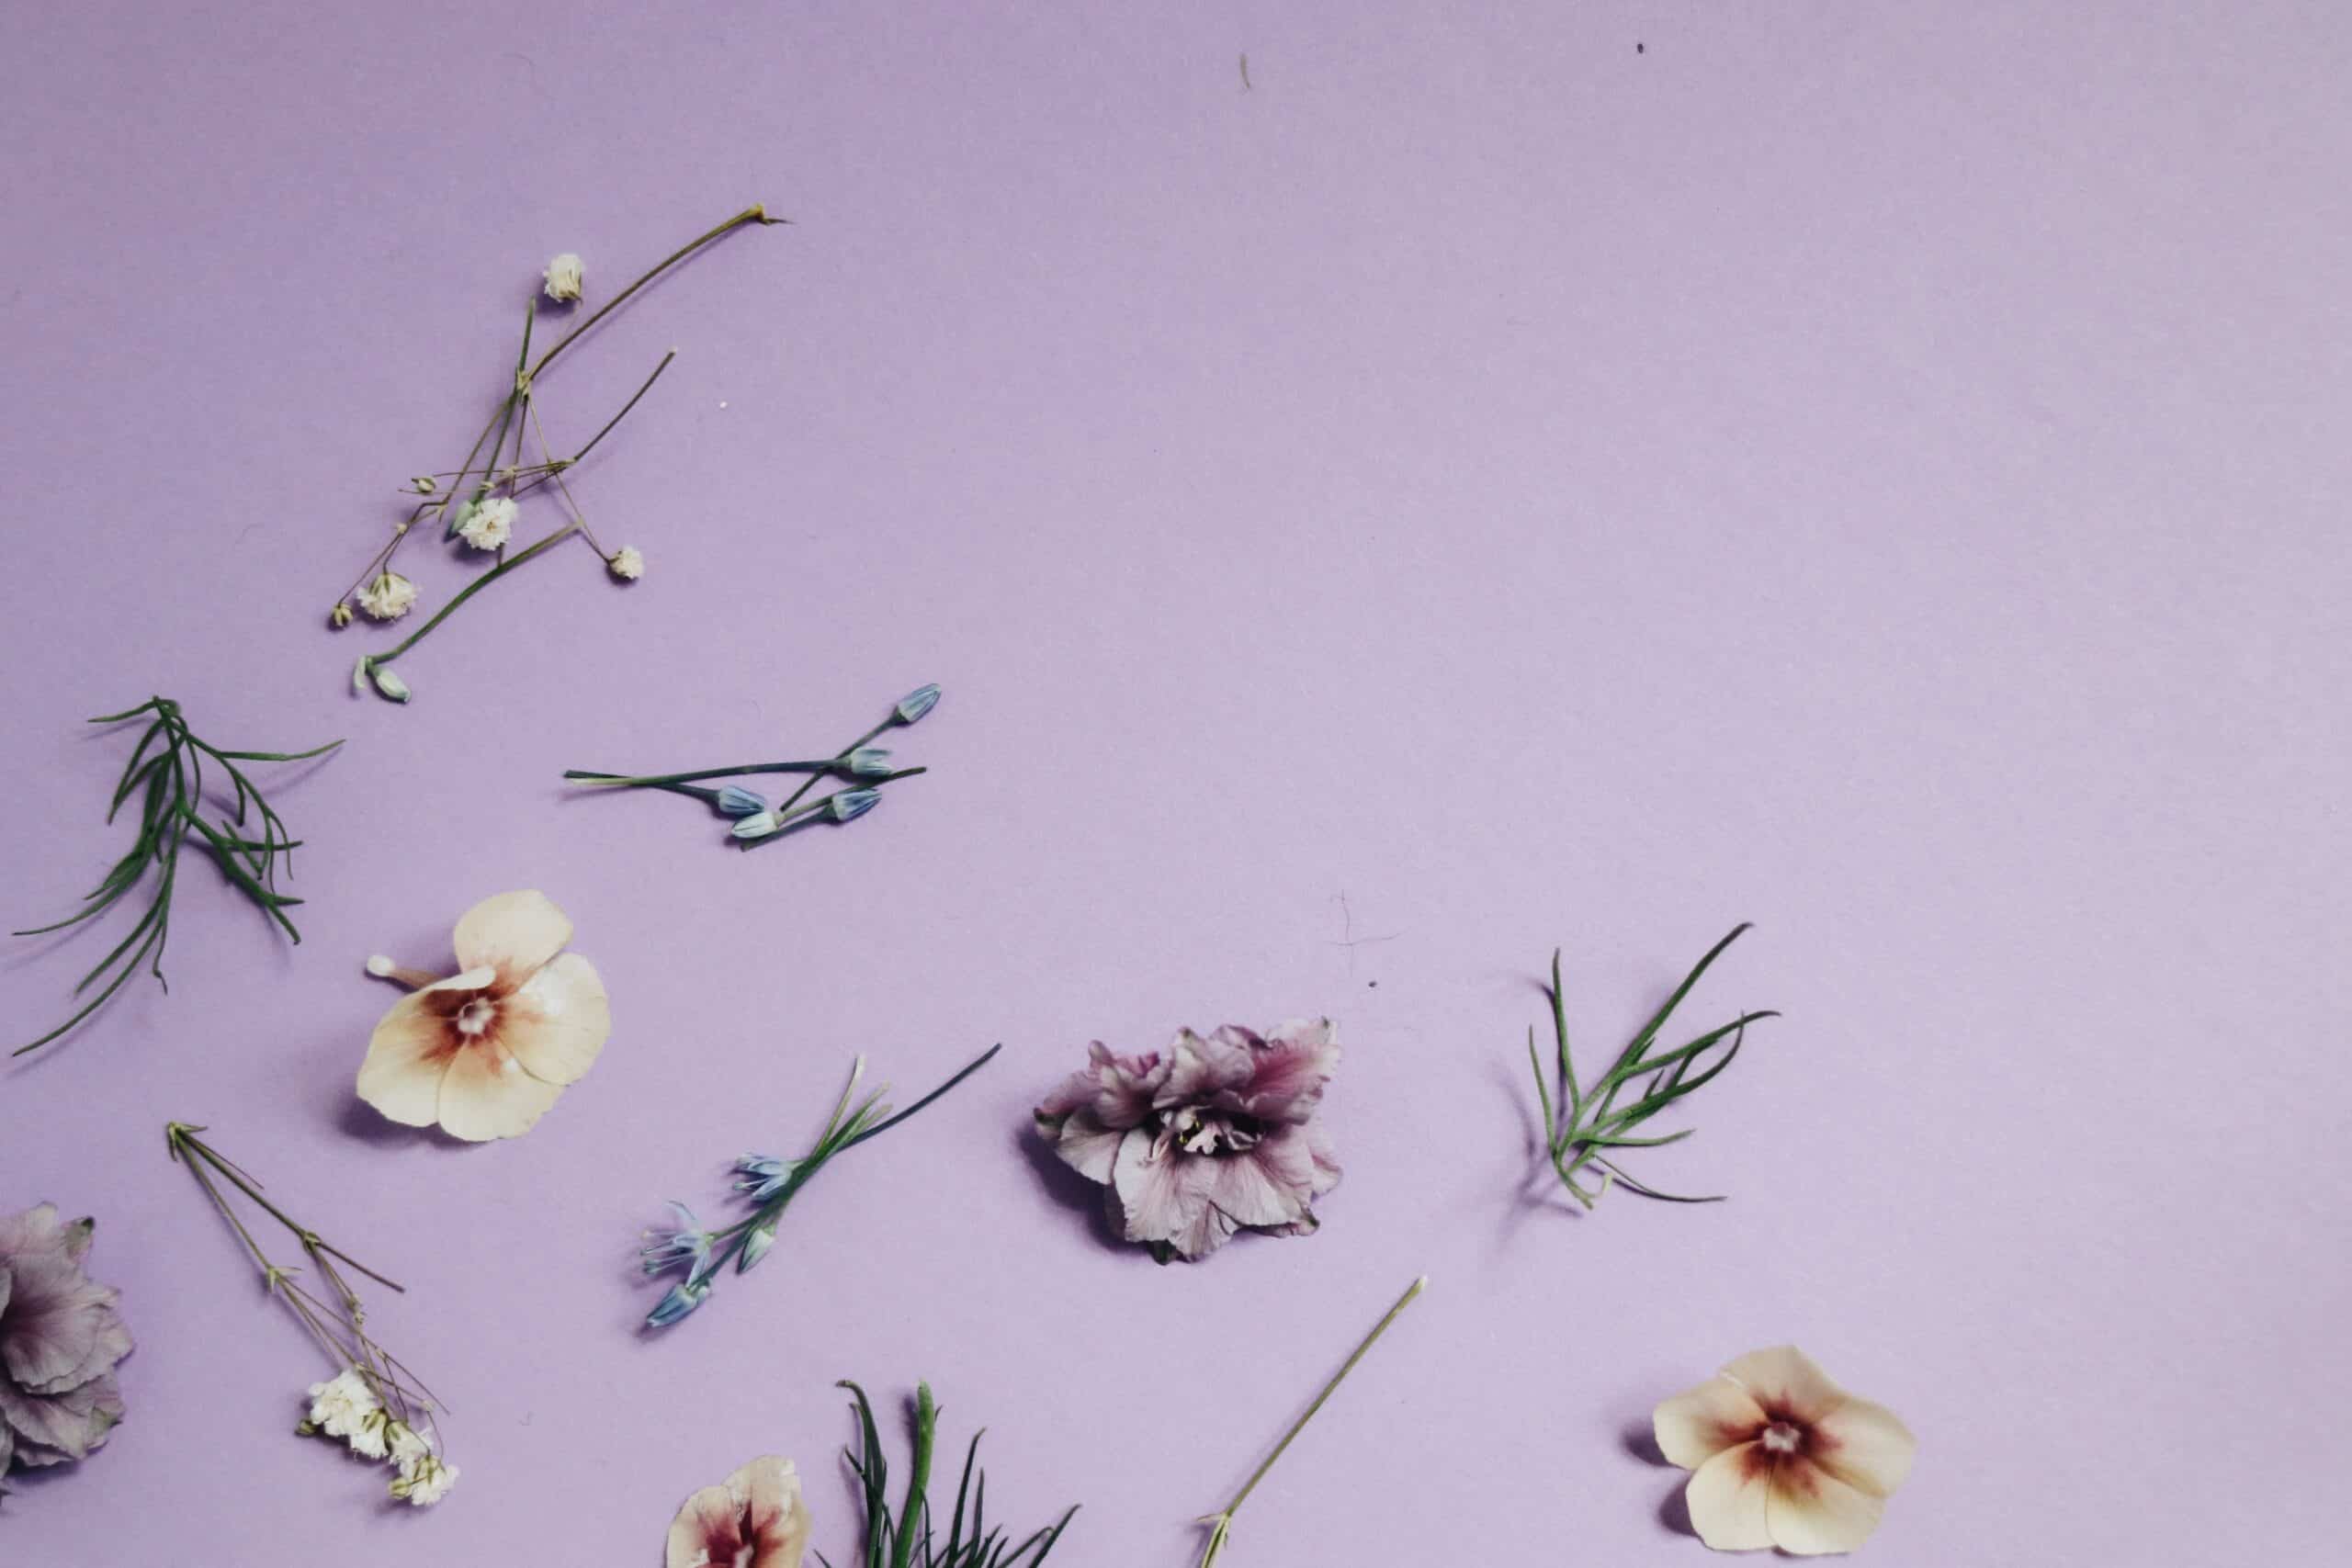
Air-Drying Flowers
Air drying is the most traditional and easiest method of drying flowers. It works best for small and sturdy flowers, such as roses, hydrangeas, lavender, baby’s breath, and strawflower. Here are the steps to air-dry your flowers:
- Pick your flowers when they are just beginning to open. They will continue to open slightly as they dry, and a fully open flower may lose its petals.
- Remove any leaves, thorns, or outer petals that are damp, wilted, or discolored.
- Cut the stems to the desired length, leaving at least 6 inches.
- Tie the stems together with twine or rubber bands, making small bunches of 3 to 5 flowers.
- Hang the bunches upside down in a dry, dark, and well-ventilated place, such as a closet, attic, or garage. Avoid direct sunlight or humidity, as they can fade or mold the flowers.
- Leave the flowers to dry for 2 to 4 weeks, depending on the type and size of the flower. Check them periodically for signs of dryness, such as crispiness, brittleness, or color change.
- Once the flowers are completely dry, you can cut off the twine and arrange them as you like.
Microwaving Flowers
Microwaving is a fast and easy method of drying flowers that preserves their color and shape better than air drying. It works best for flower heads or smaller plants, such as pansies, marigolds, gerbera daisies, and ferns. You will need a microwave-safe container, some desiccant (such as silica gel or cat litter), and a cup of water. Here are the steps to microwave your flowers:
- Pick your flowers when they are fully open and dry. Avoid any moisture or dew on the petals.
- Trim the stems to about an inch long.
- Fill the container with an inch of desiccant and place the flowers face up on top of it. Ensure they are not touching each other or the sides of the container.
- Cover the flowers entirely with more desiccant, gently shaking the container to fill in any gaps.
- Place the container in the microwave along with a cup of water. The water will prevent the flowers from overheating or catching fire.
- Microwave the flowers on high for 1 to 3 minutes, depending on the size and type of the flower. Check them every 30 seconds for signs of dryness, such as crispiness or color change.
- Carefully remove the container from the microwave and let it cool for at least 15 minutes before opening it.
- Gently brush off the desiccant from the flowers and arrange them as you like.
Drying Flowers With a Desiccant
Drying flowers with a desiccant is similar to microwaving them, but it takes longer and does not require any heat. It also preserves the color and shape of the flowers very well. You will need a large airtight container and some desiccant (such as silica gel or cat litter). Here are the steps to dry your flowers with a desiccant:
- Pick your flowers when they are fully open and dry. Avoid any moisture or dew on the petals.
- Trim the stems to about an inch long.
- Fill the container with an inch of desiccant and place the flowers face up on top of it. Ensure they are not touching each other or the sides of the container.
- Cover the flowers entirely with more desiccant, gently shaking the container to fill in any gaps.
- Seal the container tightly and store it in a cool, dry place for 2 to 6 weeks, depending on the size and type of the flower. Check them periodically for signs of dryness, such as crispiness or color change.
- Carefully open the container and gently brush off the desiccant from the flowers and arrange them as you like.
Drying Flowers in the Oven
Drying flowers in the oven is another quick method of drying flowers that does not require any special equipment. However, it may result in some loss of color or petals during the process. It works best for thin and flat flowers, such as daisies, sunflowers, poppies, and cornflowers. You will need an oven-safe baking sheet and some parchment paper.
Here are the steps to dry your flowers in the oven:
- Preheat your oven to the lowest setting, usually around 100°F or 40°C.
- Pick your flowers when they are fully open and dry. Avoid any moisture or dew on the petals.
- Trim the stems to about an inch long.
- Line the baking sheet with parchment paper and place the flowers face up on top of it. Ensure they are not touching each other or the sides of the sheet.
- Place the sheet in the oven and bake the flowers for 2 to 4 hours, depending on the size and type of the flower. Check them every 15 minutes for signs of dryness, such as crispiness or color change.
- Carefully remove the sheet from the oven and let it cool completely before handling the flowers.
- Gently peel off the flowers from the parchment paper and arrange them as you like.
Pressing Flowers
Pressing flowers is an effective way to dry flowers for crafts, artwork, or stationery. It flattens the flowers and removes their moisture, but it also alters their shape and color. It works best for thin and delicate flowers, such as violets, pansies, forget-me-nots, and ferns. You will need some heavy books, some paper towels, and some cardboard. Here are the steps to press your flowers:
- Pick your flowers when they are fully open and dry. Avoid any moisture or dew on the petals.
- Trim the stems to about an inch long.
- Place a sheet of paper towel on top of a piece of cardboard and place the flowers face down on top of it. Make sure they are not touching each other or overlapping.
- Cover the flowers with another sheet of paper towel and another piece of cardboard.
- Stack some heavy books on top of the cardboard sandwich, making sure to distribute the weight evenly.
- Leave the flowers to press for 2 to 4 weeks, depending on the size and type of the flower. Check them periodically for signs of dryness, such as crispiness or color change.
- Carefully remove the books and the cardboard layers and gently peel off the flowers from the paper towels.
- Arrange them as you like.
Tips and Ideas for Using Dried Flowers
Now that you have learned how to dry flowers, here are some tips and ideas for using them:
- To protect your dried flowers from dust, fading, or breaking, you can spray them with a clear acrylic sealer or hairspray. You can also store them in airtight containers or plastic bags when not in use.
- To make your dried flowers last longer, avoid exposing them to direct sunlight, heat, or humidity. You can also refresh their scent by adding a few drops of essential oil to them.
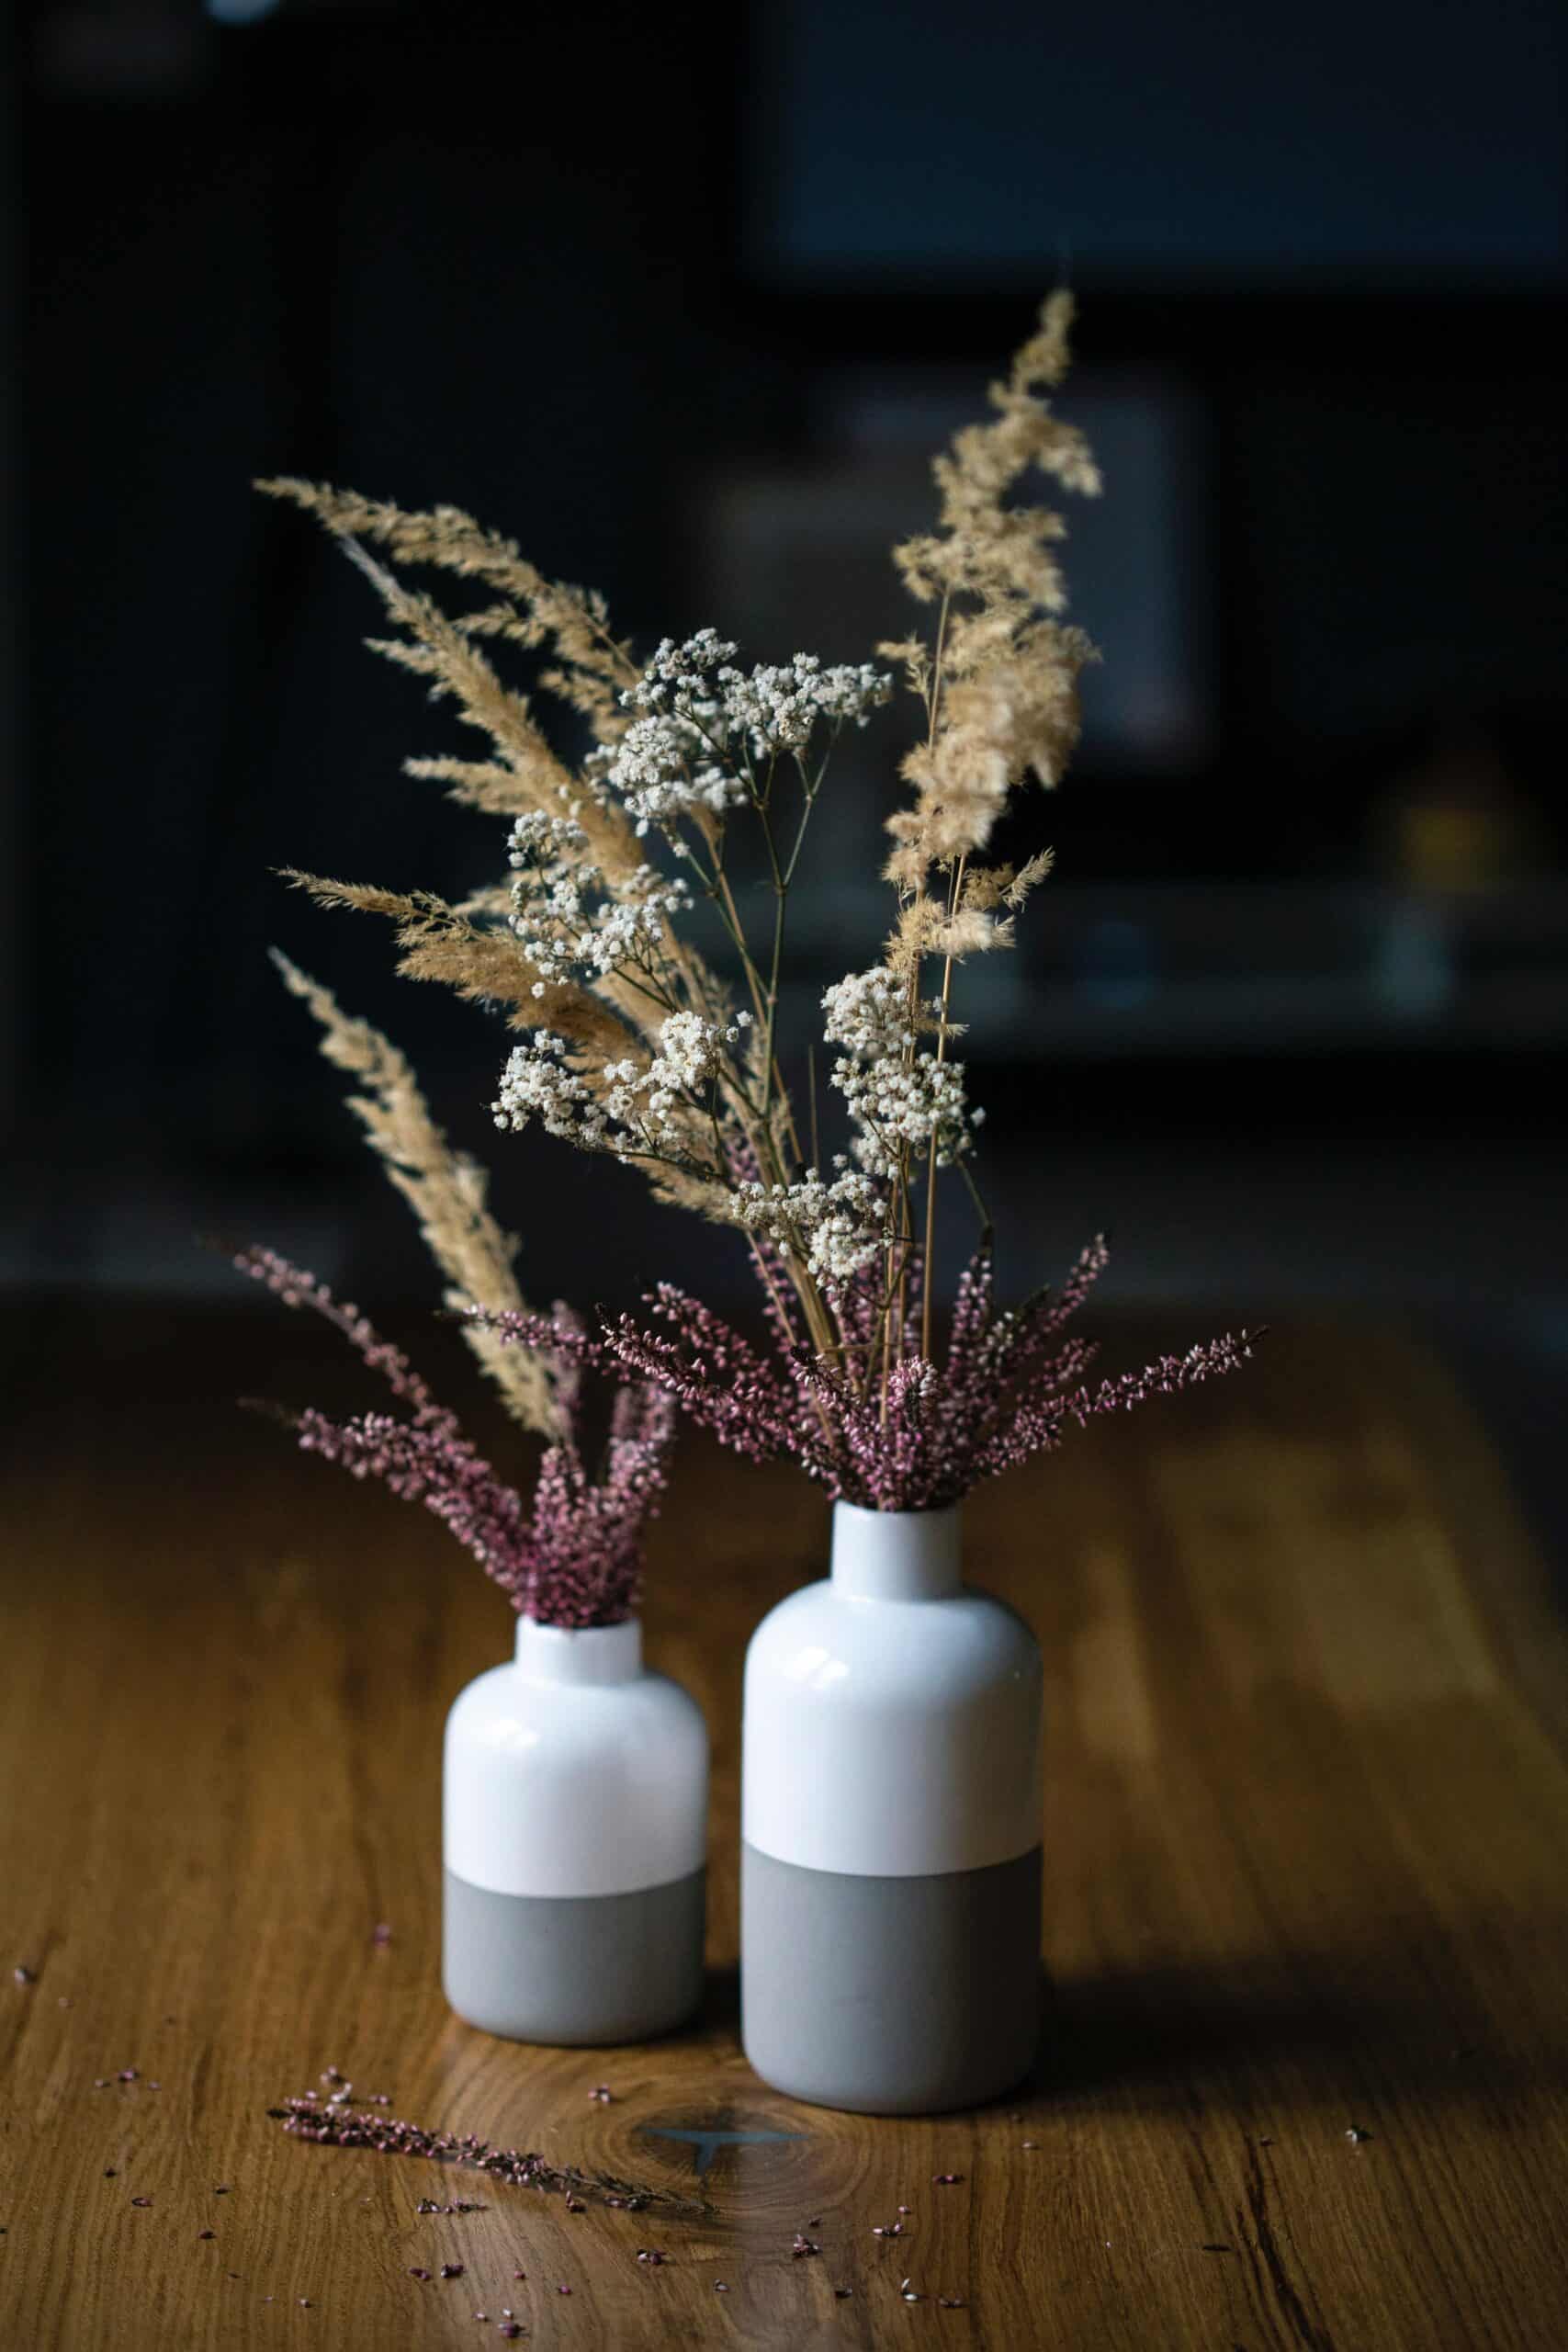
- To display your dried flowers, you can arrange them in vases, baskets, wreaths, garlands, or shadow boxes. You can also use them to decorate candles, frames, mirrors, or lamps.
- To create art with your dried flowers, you can glue them onto canvas, paper, wood, or fabric. You can also use them to make collages, bookmarks, cards, or jewelry.
- To gift your dried flowers, you can wrap them in tissue paper, cellophane, or ribbon. You can also attach a tag with a message or a label with their name and meaning.
I hope you enjoyed this blog post on how to dry flowers and found it useful and inspiring. Drying flowers is a fun and easy way to preserve your memories and express your creativity. Have fun experimenting with different methods and types of flowers and see what beautiful results you can achieve!
What we love from Amazon this week
Buy these wonderful flowers directly from Amazon:

Costa Farms Snake, Sansevieria White-Natural Decor Planter Live Indoor Plant, 12-Inch Tall, Grower's Choice, Green, Yellow
$22.38 (as of July 26, 2024 17:20 GMT +00:00 - More infoProduct prices and availability are accurate as of the date/time indicated and are subject to change. Any price and availability information displayed on [relevant Amazon Site(s), as applicable] at the time of purchase will apply to the purchase of this product.)


