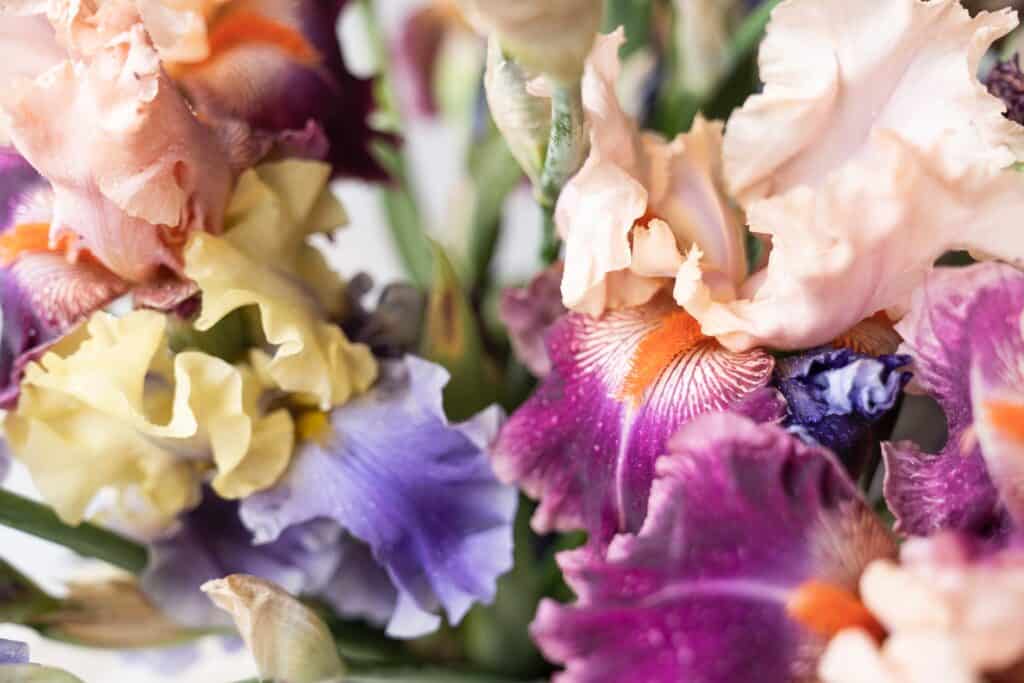
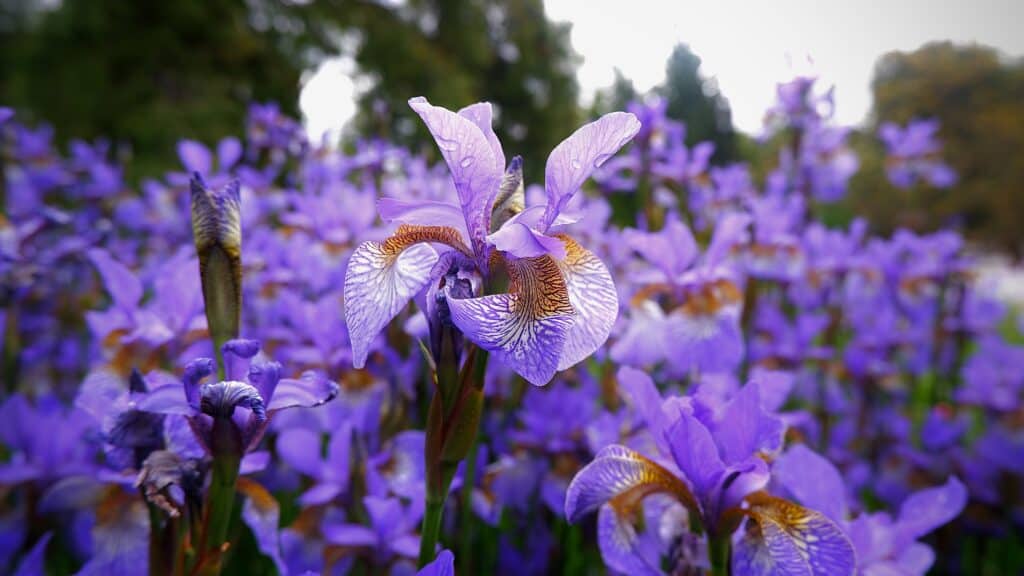
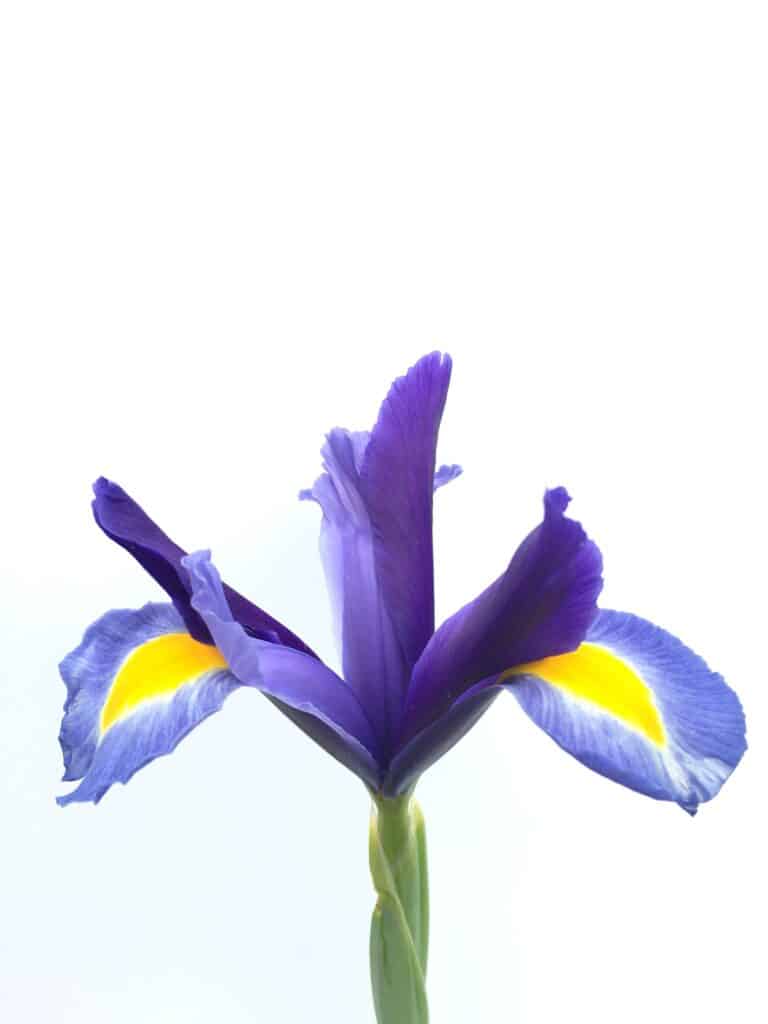
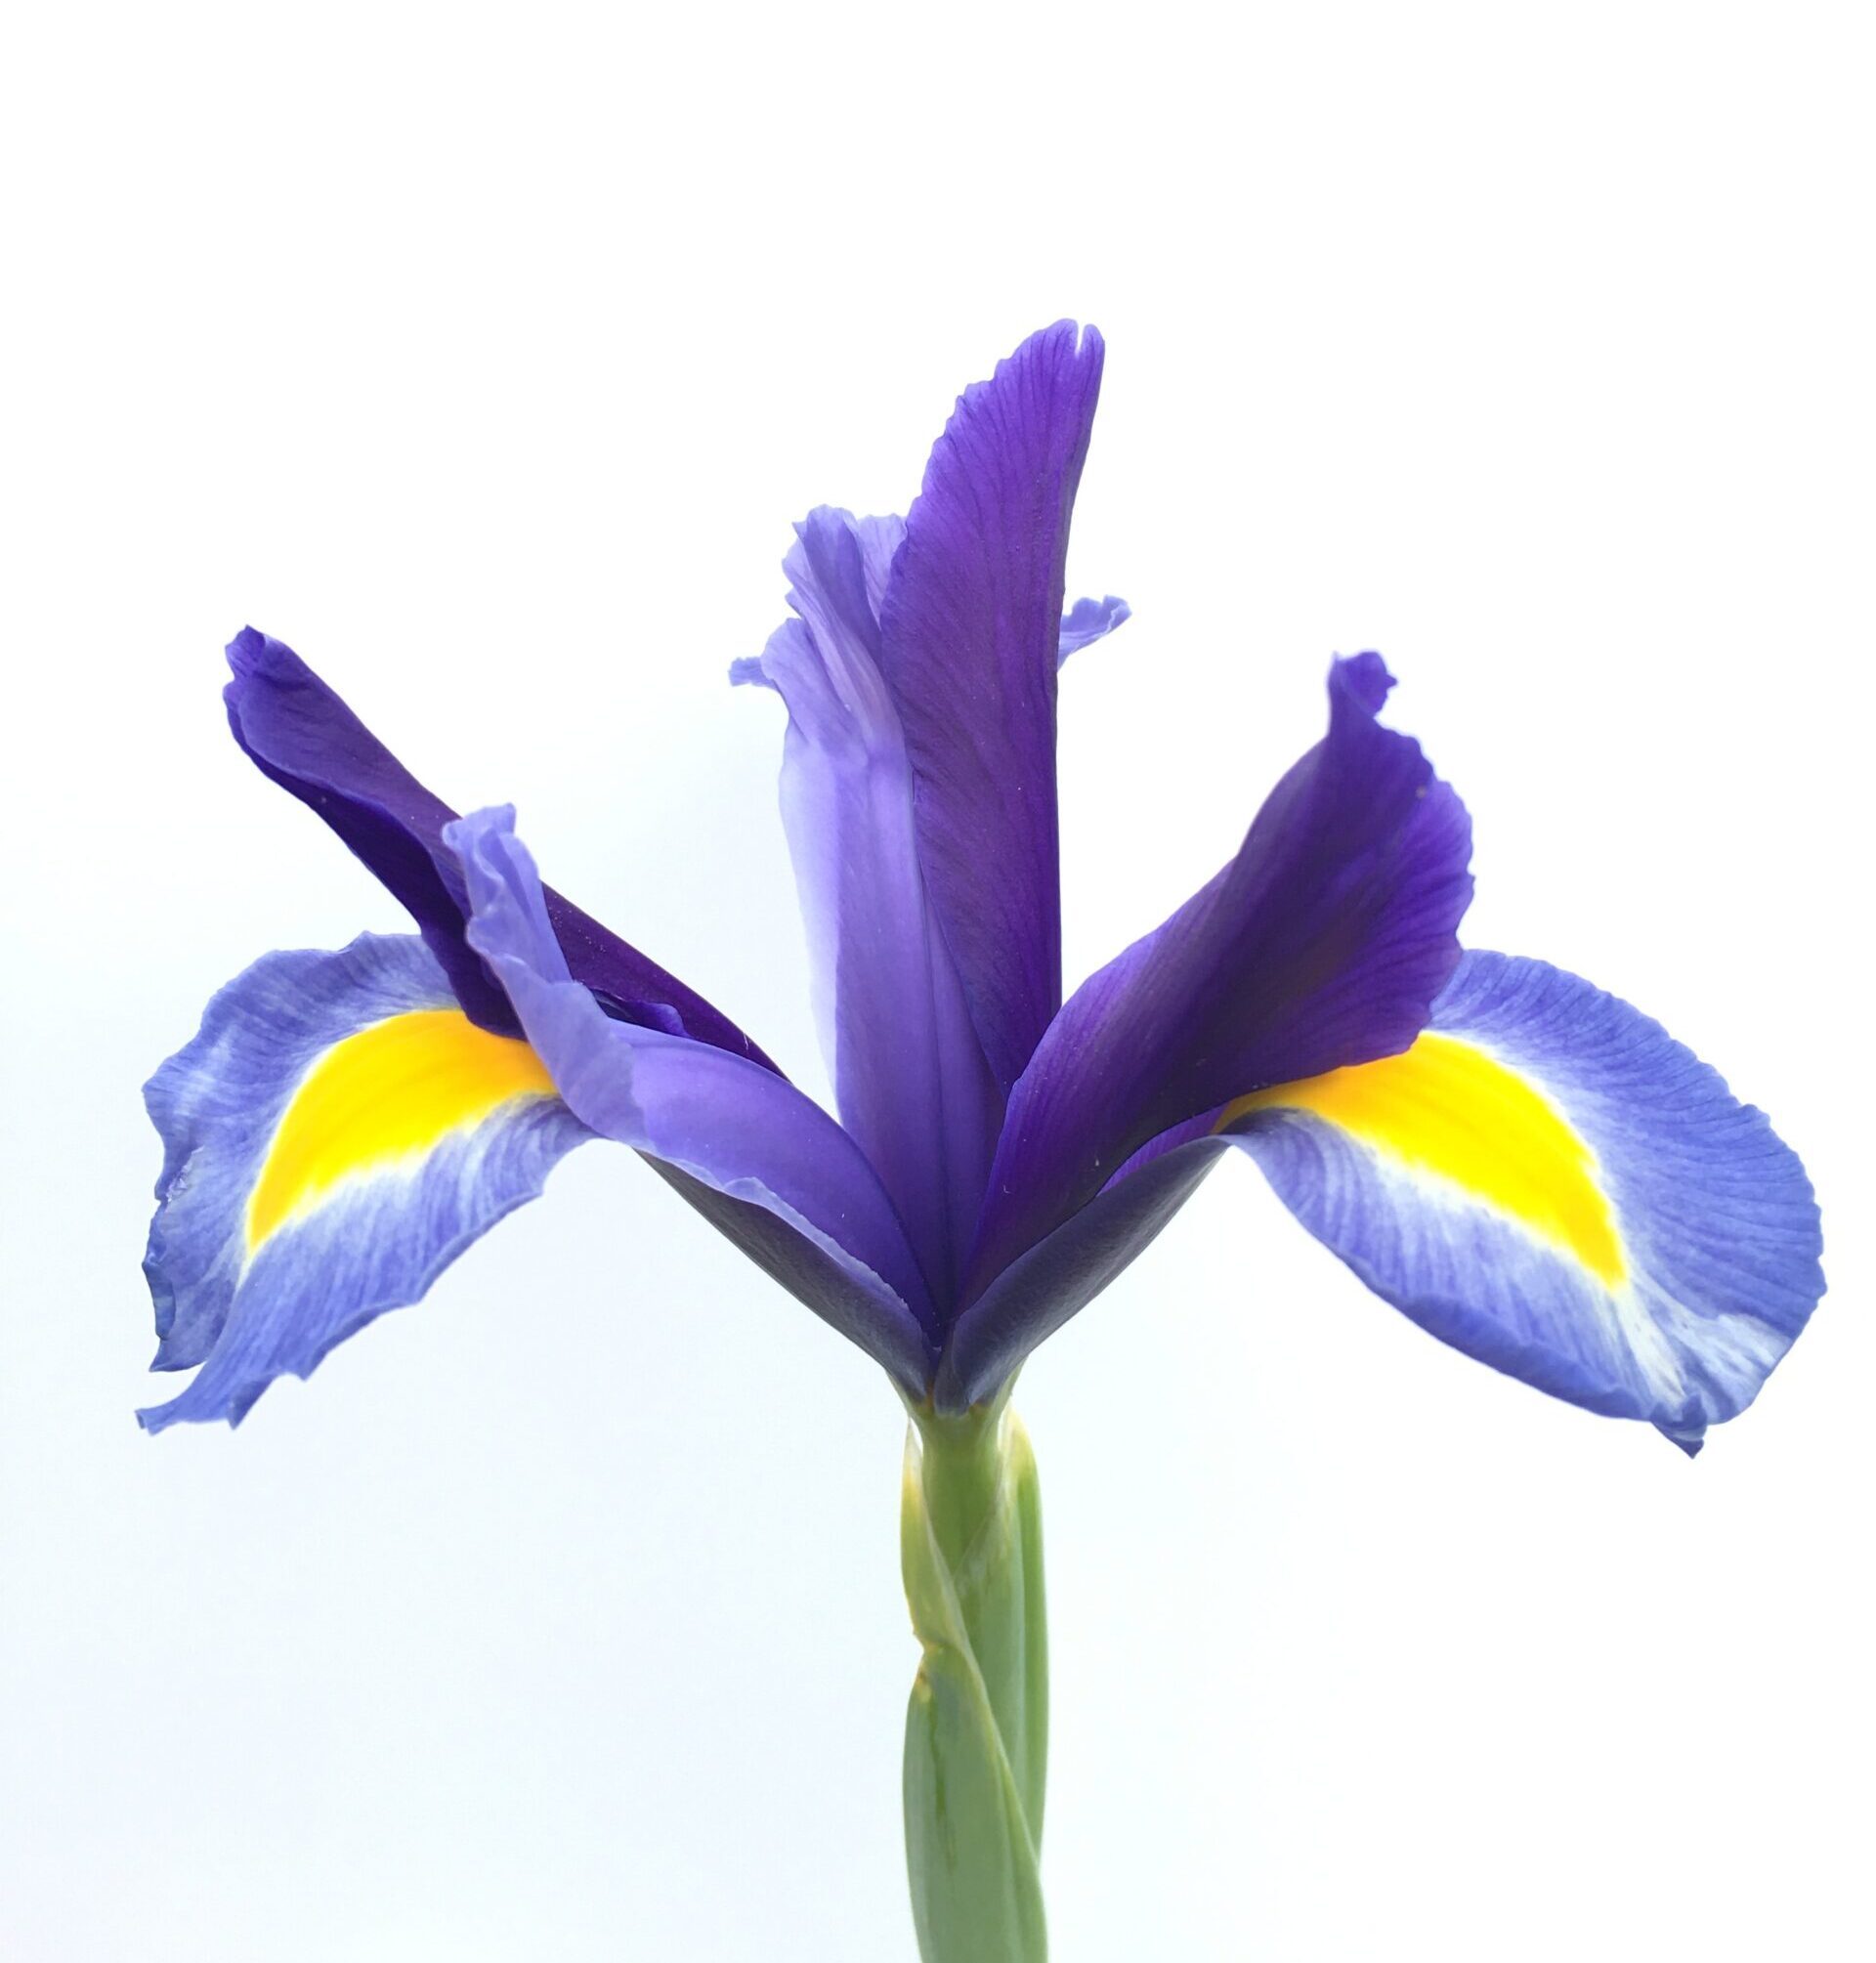
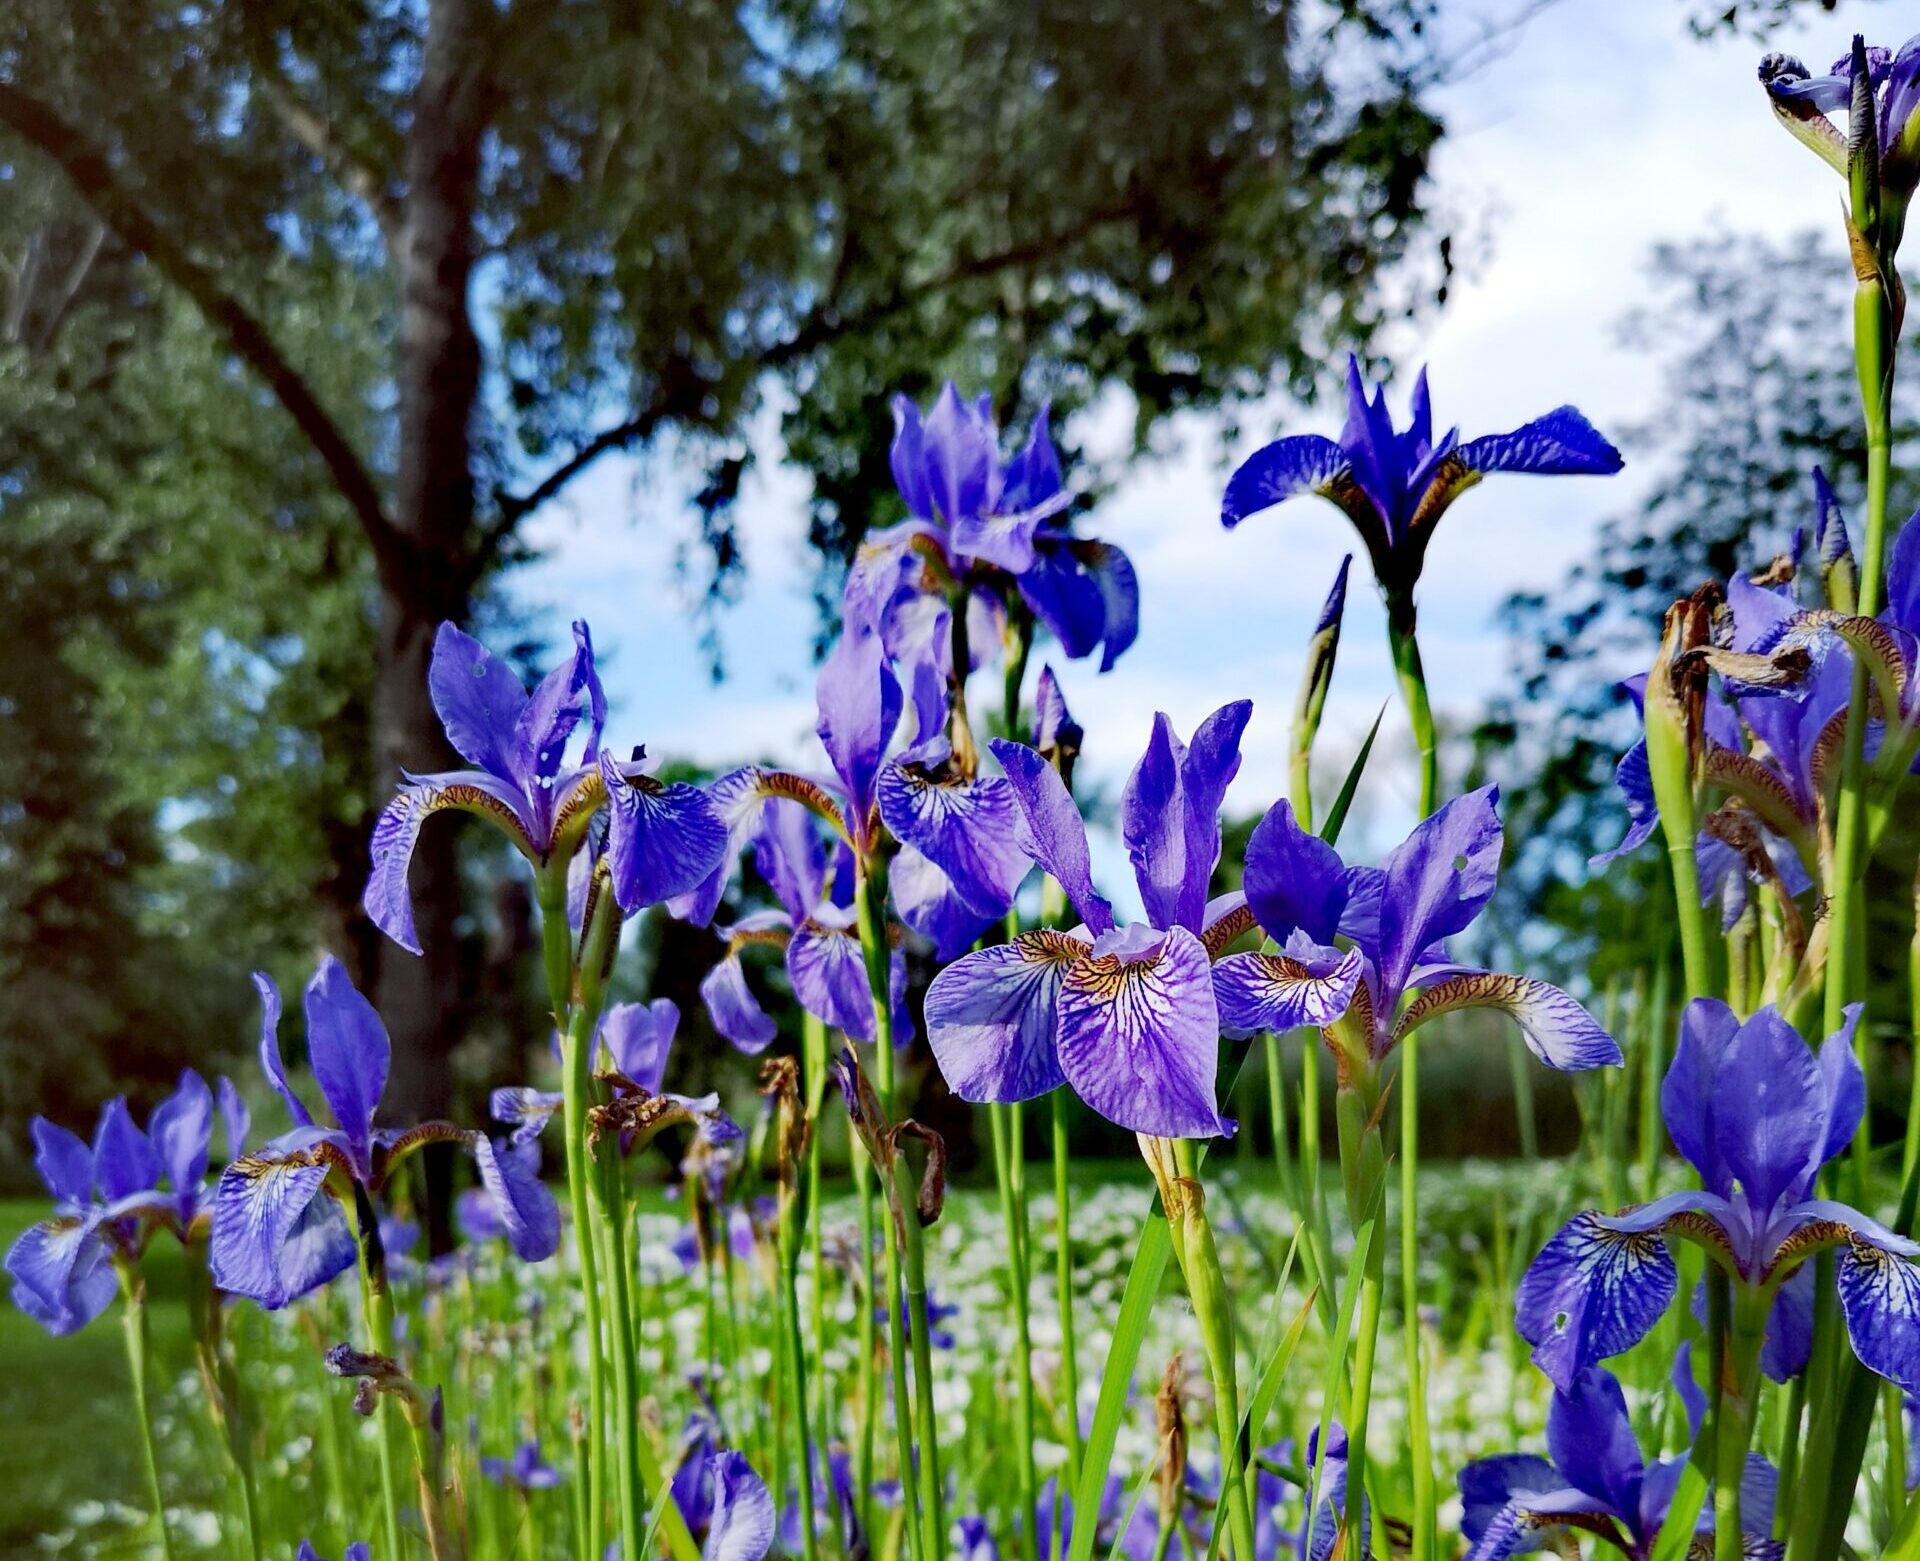
If you are on the lookout for methods to enhance the beauty of your garden, then growing irises should be a part of your plan. Irises are captivating flowers that offer a burst of color and beauty from the spring season all the way through the fall. These perennials come in a vast array of hues, shapes, and sizes, making them a versatile addition to any garden.
How to Grow Irises
The genus name, Iris, originates from the Greek word for “rainbow,” which perfectly encapsulates the multiple shades of color that can be found on the flower petals. Each type of iris has unique characteristics that make it special. For instance, some varieties are highly tolerant to drought conditions, while others require a more moist soil environment to thrive. There are also hybrid irises that have been developed by combining traits from multiple species to produce a flower with the best qualities of both. Whether you are looking for a specific color or want a plant that is easy to care for, there is sure to be an iris that fits your needs.
Best Time to Plant
Irises can be planted at different times, depending on your location and the specific variety you are planting. Generally, irises are best planted in the fall or early spring, when the soil is cool and moist. This allows the roots of the iris to establish themselves before the hot summer weather arrives.
In climates with mild winters, you can plant irises in the fall or early winter. In areas with colder winters, it’s best to wait until early spring, after the last frost, to plant your irises. This way, the irises will have enough time to establish themselves before the hot summer weather arrives.
When planting irises, it’s important to choose a location with well-drained soil, as irises do not like wet roots. You should also make sure the location receives at least six hours of direct sunlight each day, as irises require adequate sunlight to grow and bloom.
The best time to plant irises varies greatly by State in the USA, depending on the climate and soil conditions in each region. Here is a general guide to help you determine the ideal time to plant irises in your area:
- Alabama: Late September to Early November
- Alaska: Late May to Early June
- Arizona: Late September to Early November
- Arkansas: Late September to Early November
- California: Late September to Early November
- Colorado: Late August to Early September
- Connecticut: Late August to Early September
- Delaware: Late August to Early September
- Florida: Late September to Early November
- Georgia: Late September to Early November
- Hawaii: Late September to Early November
- Idaho: Late August to Early September
- Illinois: Late August to Early September
- Indiana: Late August to Early September
- Iowa: Late August to Early September
- Kansas: Late August to Early September
- Kentucky: Late August to Early September
- Louisiana: Late September to Early November
- Maine: Late August to Early September
- Maryland: Late August to Early September
- Massachusetts: Late August to Early September
- Michigan: Late August to Early September
- Minnesota: Late August to Early September
- Mississippi: Late September to Early November
- Missouri: Late August to Early September
- Montana: Late August to Early September
- Nebraska: Late August to Early September
- Nevada: Late September to Early November
- New Hampshire: Late August to Early September
- New Jersey: Late August to Early September
- New Mexico: Late September to Early November
- New York: Late August to Early September
- North Carolina: Late September to Early November
- North Dakota: Late August to Early September
- Ohio: Late August to Early September
- Oklahoma: Late September to Early November
- Oregon: Late August to Early September
- Pennsylvania: Late August to Early September
- Rhode Island: Late August to Early September
- South Carolina: Late September to Early November
- South Dakota: Late August to Early September
- Tennessee: Late September to Early November
- Texas: Late September to Early November
- Utah: Late August to Early September
- Vermont: Late August to Early September
- Virginia: Late September to Early November
- Washington: Late August to Early September
- West Virginia: Late August to Early September
- Wisconsin: Late August to Early September
- Wyoming: Late August to Early September
Keep in mind that these are general guidelines, and the best time to plant irises in your area may vary depending on local soil conditions, temperature, and rainfall patterns. It is always a good idea to consult with a local nursery or gardening expert for specific advice for your area.
What’s the Best Location?
Irises are versatile plants that can be grown in a variety of locations in your garden. When choosing a location to plant irises, consider the following factors:
- Sunlight: Irises require at least six hours of direct sunlight each day to grow and bloom. If you live in a hot climate, you may want to provide some afternoon shade to protect the plants from excessive heat.
- Soil: Irises prefer well-drained soil that is rich in organic matter. If your soil is heavy or clay-like, consider amending it with compost or other organic material to improve drainage.
- Water: Irises do not like wet roots, so choose a location that is well-drained. In hot climates, you may need to provide additional watering during periods of drought.
- Space: Irises need room to grow and spread, so choose a location with enough space for the plants to reach their mature size. Most irises will grow to a height of about 2-3 feet and a width of 1-2 feet.
- Exposure: Consider the exposure of the location you are planting irises in, as different varieties have different light and wind tolerance. Some irises are more suited to windy locations, while others prefer protection from the wind.
When planting irises, be sure to give them enough space to grow and spread, and choose a location that provides the right combination of sunlight, soil, and water for your specific variety. With the proper care and conditions, irises can be a beautiful and long-lasting addition to your garden.
How to Plant Irises
Planting irises correctly is crucial to their success. Here are three secrets to help you plant your irises successfully:
- Proper Timing: Timing is important when planting irises, as they need time to establish roots before winter. In most climates, the best time to plant irises is in the fall, but in warm climates, spring planting is also possible.
- Good Drainage: Irises need well-drained soil to thrive, as they do not like soggy roots. If your soil is heavy or clay-like, consider amending it with compost or other organic material to improve drainage.
- Proper Spacing: When planting irises, be sure to give them enough space to grow and spread. Most irises will grow to a height of about 2-3 feet and a width of 1-2 feet, so be sure to leave enough room for the plants to reach their mature size.
In addition to these three secrets, be sure to choose a location that provides the right combination of sunlight, soil, and water for your specific variety. When planting, it is important to plant the irises at the same depth they were growing in their previous location, and to water them well after planting to help settle the soil around the roots. With proper care and conditions, irises can be a beautiful and long-lasting addition to your garden.

How to Grow Iris From Seed
Growing irises from seed can be a fun and rewarding experience. Here are the steps to follow to grow iris from seed:
- Obtain seeds: Purchase iris seeds from a reputable seed company or collect seeds from mature iris plants in your garden.
- Prepare the soil: Choose a location with well-drained soil that is rich in organic matter. If necessary, amend the soil with compost or other organic material to improve drainage.
- Sow the seeds: Sow the seeds in the prepared soil in the fall or spring, depending on your climate. Cover the seeds with a light layer of soil and water them well.
- Provide adequate light: Irises need at least six hours of direct sunlight each day to grow and bloom, so choose a location that provides ample light.
- Water regularly: Keep the soil consistently moist but not waterlogged. Avoid getting water on the foliage to prevent disease.
- Thin out the seedlings: Once the seedlings have emerged, thin them out to allow for adequate space for growth.
- Fertilize: Fertilize the iris seedlings regularly with a balanced, slow-release fertilizer to support healthy growth.
- Transplant: Once the iris seedlings have reached a size of about 4 inches, transplant them to their permanent location in the garden.
Growing irises from seed can be a rewarding and cost-effective way to add these beautiful plants to your garden. With proper care and attention, you can successfully grow irises from seed and enjoy their stunning blooms for many years to come.
What’s the Best Fertilizer?
The best fertilizer for irises depends on the specific needs of your plants and the soil conditions in your garden. In general, irises benefit from a balanced, slow-release fertilizer with a ratio of approximately 10-10-10 (NPK), which provides an even balance of nitrogen, phosphorus, and potassium. These nutrients are essential for healthy plant growth and bloom production.
Here are some tips for fertilizing irises:
- Soil Test: Before applying fertilizer, have a soil test done to determine the pH level and nutrient content of your soil. This information will help you select the appropriate fertilizer for your specific growing conditions.
- Fertilize in Spring: Apply fertilizer to irises in the spring, just as the new growth begins to emerge.
- Fertilize Regularly: Fertilize irises regularly throughout the growing season, typically every 4-6 weeks, to support healthy growth and abundant blooms.
- Avoid Overfertilizing: Too much fertilizer can cause the iris leaves to become yellow and weak, so be sure to follow the recommended application rate on the fertilizer package.
In addition to regular fertilization, irises also benefit from a top dressing of compost or other organic matter in the spring. This will help to add essential nutrients to the soil and improve soil structure. By providing the right combination of nutrients, light, and water, you can ensure healthy and vigorous growth for your irises.
Pruning
Pruning irises is an important part of maintaining healthy and attractive plants. Here are some steps to follow when pruning your irises:
- Cut back dead foliage: After the iris plants have finished blooming, cut back the dead foliage to the ground to improve the appearance of the garden and prevent the buildup of disease organisms in the dead foliage.
- Divide irises: Divide irises every three to five years to prevent overcrowding and maintain healthy growth. Dig up the clumps of irises, separate the individual rhizomes, and replant them in a new location.
- Remove old and diseased rhizomes: When dividing irises, remove any old, yellow, or diseased rhizomes. Healthy rhizomes should be firm and white or yellowish-white in color.
- Cut back fan leaves: Cut back the fan-like leaves of the iris to a height of 6-8 inches after they have yellowed and died back. This will prevent the leaves from becoming a breeding ground for disease organisms and improve the appearance of the garden.
- Cut away spent blooms: After the iris plants have finished blooming, cut away the spent blooms to prevent seed production and conserve the plant’s energy for future growth.
By following these pruning steps, you can help keep your iris plants healthy, vibrant, and blooming beautifully for many years to come. Regular pruning also encourages the development of new growth, which will lead to even more stunning blooms in the future.
Propagating Iris
There are several methods for propagating irises, including division, cuttings, and seed sowing. Here are some steps to follow when propagating irises:
- Division: One of the easiest ways to propagate irises is by division. This method is best done in the spring or fall, after the iris plants have finished blooming. Dig up the clumps of irises, separate the individual rhizomes, and replant them in a new location. Be sure to plant each rhizome so that the top of the rhizome is just at or slightly below the soil surface.
- Cuttings: Another way to propagate irises is by taking cuttings from the leaves. Cut a healthy leaf from the parent plant and strip away all but the top few inches of the leaf. Then, plant the cutting in a well-draining potting mix, water well, and place in a bright, indirect light. In a few weeks, the cutting should produce new growth, which can then be planted in the garden.
- Seed Sowing: Irises can also be propagated from seed, although this method takes longer to produce a blooming plant. Sow the seeds in a well-draining seed starting mix, water well, and place in a bright, indirect light. The seeds should germinate in 2-4 weeks. Once the seedlings have developed a few leaves, they can be planted in the garden.
Regardless of the propagation method you choose, be sure to provide your iris plants with plenty of light, water, and nutrients to support healthy growth. With the right care and attention, your iris plants will thrive and bloom beautifully for many years to come.
Potting and Repotting Iris
Potting and repotting irises is an important part of maintaining healthy plants. Here are some steps to follow when potting or repotting irises:
- Choose the right pot: When potting irises, choose a pot that is slightly larger than the root ball of the plant. A pot that is too small can restrict root growth, while a pot that is too large can hold too much moisture, leading to root rot.
- Use the right soil: Fill the pot with a well-draining potting mix, such as a mixture of peat moss, perlite, and vermiculite. Avoid using garden soil, which can become compacted and restrict root growth.
- Plant the iris: Place the iris plant in the pot and fill in around the roots with potting mix. Make sure that the top of the root ball is just at or slightly below the soil surface.
- Water thoroughly: Water the iris plant thoroughly after planting to help settle the soil and eliminate air pockets.
- Repotting: Repot irises every two to three years, or when the roots have outgrown the pot. To repot, gently remove the iris plant from the pot, tease out the roots, and trim away any tangled or damaged roots. Then, place the plant in a new pot filled with fresh potting mix and water thoroughly.
By following these steps, you can help ensure that your iris plants are potted and repotted correctly, providing them with the right growing conditions to thrive and bloom beautifully.
Iris Pests and Diseases
Irises are generally hardy plants, but they can be susceptible to a few pests and diseases. Here are some of the most common iris pests and diseases to look out for:
- Thrips: Thrips are small, slender insects that can cause damage to iris leaves, stems, and flowers. They can be controlled with insecticidal soap or neem oil.
- Snails and Slugs: Snails and slugs can damage iris leaves and stems, and can also feed on the flowers. To control these pests, use slug and snail bait or handpick them from the plants.
- Botrytis Blight: Botrytis blight is a fungal disease that causes iris leaves to turn brown and mushy. It can be controlled by removing infected leaves and improving air circulation around the plants.
- Bacterial Soft Rot: Bacterial soft rot is a disease that causes iris stems and rhizomes to rot and collapse. It can be controlled by improving drainage, avoiding overhead watering, and avoiding overcrowding the plants.
- Iris Borer: The iris borer is a moth larva that feeds on the stems and rhizomes of irises. To control this pest, remove and destroy infested stems and leaves, and use a pesticide if necessary.
By keeping an eye out for these pests and diseases and taking appropriate action, you can help keep your iris plants healthy and beautiful.
What we love from Amazon this week
Buy these wonderful flowers directly from Amazon:


